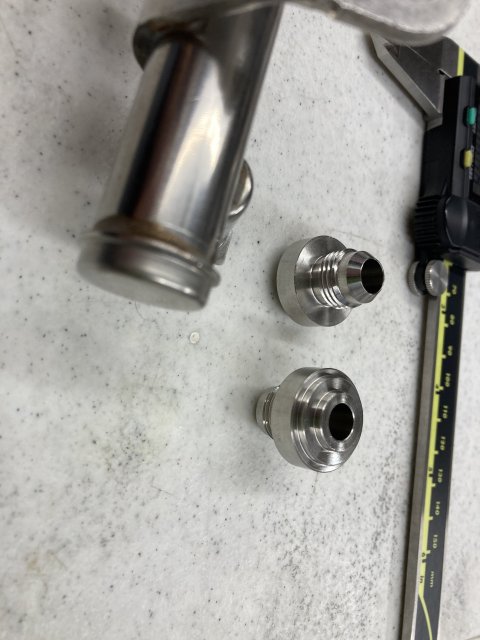
Quick update, bung is welded on. Crew Chief said to leave the cap to give more area to weld to and he'd regulate the heat to make sure it stayed put. Everything went fine and no issues with cap or close injector port having any problems.
However, he said the rails are either an odd stainless or have a coating on them as he had some trouble getting weld to stick. Stuck to the bung no problem, but would want to roll off the rail. He tried different heat settings and that didn't seem to make much difference. In the end he got it done, I'm not 100% sure how. Said he used stainless steel TIG rod as well as a tungsten carbide (I think that's what he said) which sticks to anything and still had to work with it to get it done.
I'm meeting up with him this weekend to pick it up, I'll pressure test, and hope all's good. He said he had to use a grinder to clean it up a bit which bothered him, but it's not visible anyway so I told him not to worry about that.
Something to be aware of if you're getting ready to weld them up.